The blower motor is a key part that impacts operator comfort. It powers the heating, ventilation, and air conditioning (HVAC) system. Don’t hurry to order a replacement right away. A few simple tests can confirm if the motor is really the problem. Read on to learn how to test your blower motor. Follow the steps one by one to diagnose any potential issues.
How to Test a Blower Motor?
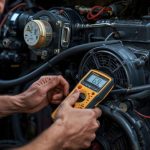
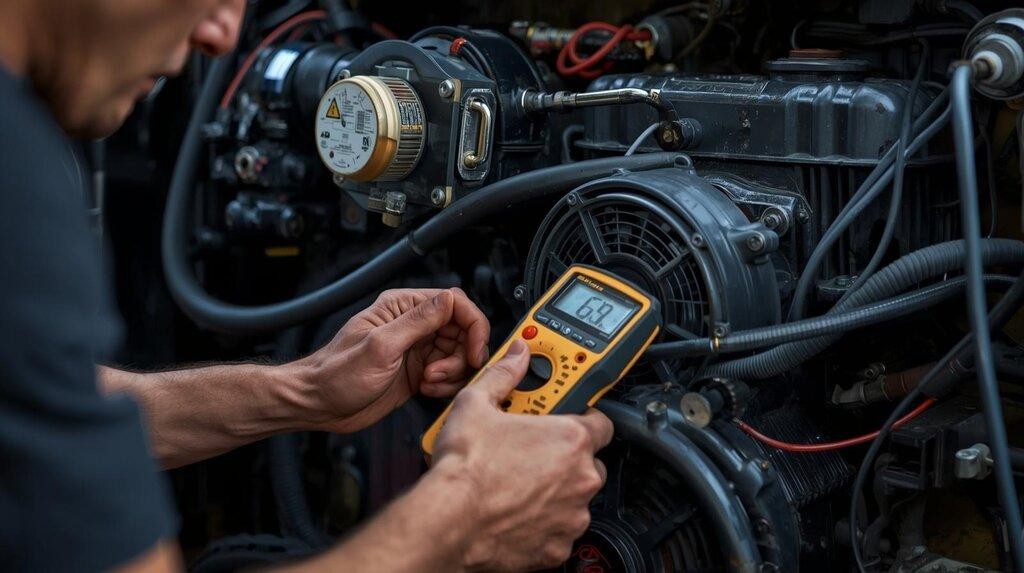
If the situation looks like a problem with the blower motor, do a few simple tests with a multimeter to confirm and avoid replacing a good motor. Before starting, stop the device, turn off the engine, and then disconnect the negative terminal of the battery to prevent accidental contact with the circuit or accidental start.
Step 1: Visual Inspection and Access
The blower motor is often mounted under the instrument panel or in the housing of the heating/air conditioning system. You may need to remove one of the covers first to see it. Once you see the motor, do a quick check to see if there is:
- Fan blades are stuck with debris
- Burnt, melted, or corroded wiring or plugs
- The motor housing showed obvious signs of overheating.
Step 2: The Voltage Test (Checking Power Supply)
The purpose of this test is to confirm whether the power has reached the blower motor.
- Keep the motor plug connected. If the back is not good for testing, pull it off and contact the terminal with a fine probe.
- Turn the multimeter to the DC voltage range and select a range higher than the system voltage (20V for 12V, 40V or higher for 24V).
- Reconnect the battery and turn the key ON without starting.
- Turn the blower to the highest setting.
- The red pen measures the positive terminal and the black pen measures the negative terminal.
How to see the results:
- Normal voltage (around 12V or 24V): Power’s getting to the motor—so the fuse, relay, and switch are all good. If the motor still won’t spin, it’s pretty much bad.
- Zero or super low voltage: The motor isn’t getting power. Check upstream: fuses, relays, resistors, wiring, etc.
Step 3: Resistance Test
This test tells you if there’s an open or short circuit inside the motor.
- Disconnect the battery first, then unplug the blower motor.
- Set the multimeter to resistance (Ω).
- Touch the two probes to the motor’s two terminals.
Analyze the Reading:
- The reading is a few ohms or so and is stable, which means that the inside of the motor is basically normal.
- The multimeter shows OL / infinity, which means it is disconnected and the motor is broken.
- A reading of 0 or very close to 0 is a short circuit and the motor is also broken.
If the motor does break after testing, the easiest and most reliable thing to do is to just replace it. Heavy equipment has a harsh environment. Try to choose a blower motor with good quality, shock resistance and dust resistance, which will be more durable.
Step 4: Checking the Ground Connection
When working in wet, muddy conditions, the grounding of the equipment can easily fail. If there is a lot of mud, water and corrosion, the ground wire will have poor contact.
- Turn the multimeter to the resistance (Ω) setting. One probe touches the negative terminal of the motor (or the metal housing of the motor); the other probe touches the clean, unpainted metal part of the equipment frame.
- Normally, the resistance should be very low, the closer to 0 the better. If the resistance is very high, it will make the motor intermittent or even not turn at all.
Final Thought
The blower motor works properly so that the cab is safe and comfortable, allowing you to focus on your work. In fact, diagnosing blower motor failure in heavy equipment is not complicated. Pay more attention to common symptoms on a regular basis. It is best to use a multimeter to test it in simple steps to determine whether the motor is broken or if something else is wrong. This saves time and costs, allowing for back work to be done quickly.

Oliver Smith is an experienced blogger at Grammar Globe, Oliver Smith, an expert in English grammar and a master of wit, brings language to life with his playful take on puns. Through his works, he weaves humor into the rules of grammar, making learning fun and engaging for readers of all ages. Discover language with a smile!”